Data Views
The Views feature is available on the Dashboard, Analyze, and Reports pages. This feature enables you to select the data and filters you need to focus on information of interest, and then save these settings as stored “Views” to retrieve later for analysis in Dashboards and the Analyze grids, as well as creating Reports.
Unlike Dashboards, where the intent is to save the visual panel layout for dynamic data analysis, Views include both the current Dashboard panels and data selected when a View is created. By offering both alternatives, you can save and return to the same data analysis without recreating all of the steps; or create a visual dashboard and see different scan results through the same single pane of glass. The following settings are saved when you create a View that included both Dashboard and data:
-
Selected Job(s)
-
Selected Scan(s)
-
Exclusion filter (hide/show)
-
Asset Filter (selected Asset Tags)
-
Selected Custom Severity Set
-
Selected Dashboard panels
-
Data Grid columns
Create a View to include Data and Display Settings
-
Navigate to the Dashboard tab, Analyze tab or Report tab to use any available Data View creator.
-
Select the Job(s) and Scan(s) from the Select Data Set selector under “Grid Options”
-
Set the Exclusion filter (Hide/Show), if applicable.
-
Use the Asset Filter option to filter on hosts by their associated Asset Tags, if applicable.
-
Use the Custom Severity Set option to display the applicable Custom Severities if applicable to your analysis.
-
Select any applicable Dashboard panels under Dashboards to be stored for the View.
-
Modify individual data grids in the Analyze tab (columns, column order), if applicable.
-
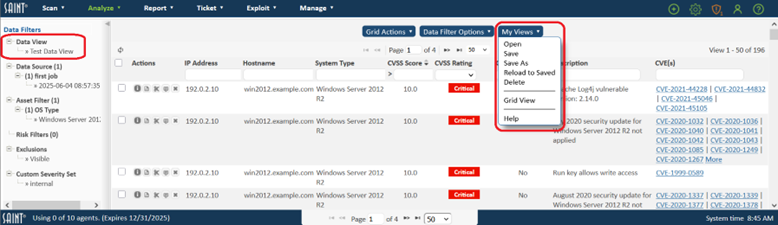
Select the My Views dropdown menu at top of the page.
-
Choose Save As.
-
Choose the “Data View Name” option and give the view a name to save a new View or choose “Overwrite Existing View” to apply those settings to an existing View.
-
Click Save As to store the view for later use.
Select a View
-
Select “Open” from the My Views dropdown list.
-
Scroll down to the applicable saved View.
-
Click the “Open” button to refresh the page and dashboard panels with the content, grid settings, data and filters previously defined for the view.
Edit a View
Views can be modified by making any applicable changes to the data selections, filters, dashboard panels and data grids and clicking “Save” from the My Views dropdown.
Edit and Save As
Existing Views can also be used as a basis for creating other views; as in the case of using the same filters, but for a different data set.
-
Modify the existing data, filters and grids as needed.
-
Click Save As from the My Views dropdown.
-
Give your view a new name and select Save As to store the new view.
Delete a View
-
Click Open from the My Views dropdown list of available Views.
-
Select the View name from the view list.
-
Click Open.
-
Click Delete from the My Views dropdown.
Reload
There may be times when you wish to revert back to the original settings for a View. For example, you are working in a view and have made several changes to the current page and need a fast way to get back to the original settings. To revert back to the original View settings, click on Reload from the My Views dropdown list.